

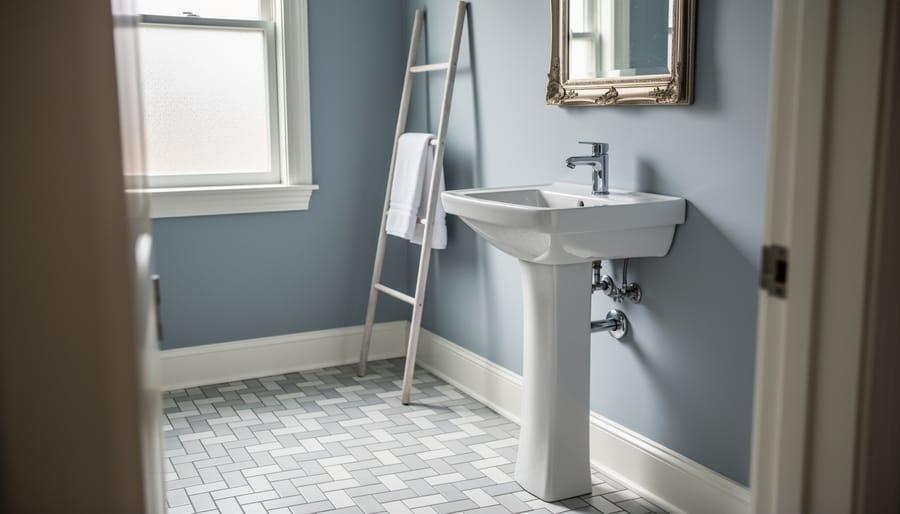
Transforming a cramped bathroom in an older home doesn’t mean ripping out original tile or blowing your renovation budget. Eight strategic upgrades can deliver dramatic results while preserving the period charm that makes heritage homes special: replacing dated fixtures with space-saving models, updating lighting to brighten dim corners, refinishing rather than replacing vintage surfaces, and adding clever storage that works with existing layouts. Most of these changes take a weekend or less and cost hundreds, not thousands.
Older homes in northern climates face unique bathroom challenges. Poor ventilation leads to mold in cold months. Single-pane windows create drafts. Radiators eat floor space. Plaster walls crack when moisture levels swing. The good news? These problems have proven solutions that don’t require gutting the room down to the studs. You can address ventilation, insulate exterior walls from the inside using slim profiles, and work around old cast-iron plumbing without calling in a contractor.
This guide walks through eight high-impact changes ranked by effort and cost. Each includes specific product recommendations, realistic time estimates, and DIY steps tailored to the quirks of pre-1960 construction. Whether you’re working with a narrow powder room or a full bath with original fixtures worth saving, you’ll find practical ways to gain function and style without losing character.
How We Chose These Transformation Ideas
We didn’t choose these eight transformations at random. Every idea on this list meets strict criteria shaped by the realities of renovating heritage bathrooms in northern climates, where winter moisture control and structural quirks dictate what works and what creates headaches down the road.
Each transformation had to pass five tests:
- Compatibility with older construction methods like cast iron plumbing, lath and plaster walls, and non-standard room dimensions
- Suitability for northern climate challenges including freeze-thaw cycles, heating efficiency, and moisture management
- Budget-friendliness, either as a DIY project or an affordable contractor job
- Visual impact that honors the home’s period character while modernizing the space
- Functional gains that solve real problems like cramped layouts, poor lighting, or inadequate storage
These aren’t trendy makeovers pulled from generic renovation blogs. They’re grounded in what actually works when you’re dealing with a 1920s bathroom with shallow floor joists, or a 1940s space with walls that crumble if you look at them wrong. We consulted with renovation specialists like the PD Renovations team reviewed case studies from Canadian heritage homeowners, and prioritized changes that respect original architecture while delivering the modern comfort you deserve. The result is a practical roadmap that balances character preservation with genuine improvement.
1. Replace the Vanity with a Vintage-Inspired Pedestal Sink
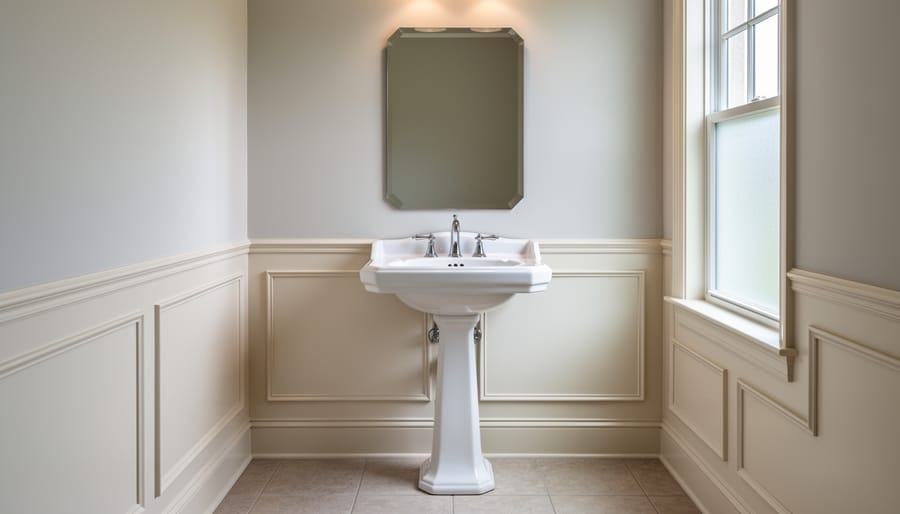
Swapping a heavy vanity for a pedestal or wall-mounted sink is one of the fastest ways to reclaim precious floor space in a cramped older bathroom. The visual impact is immediate: suddenly the room breathes, feeling larger and less cluttered. For heritage homes built before open-concept floor plans, this change also honors the era when pedestal sinks were standard fixtures, bringing back period-appropriate charm without sacrificing function.
Start by measuring your existing plumbing rough-in, the distance from the wall to the drain centerline. Older homes often have non-standard spacing (10 to 14 inches is common), so find a sink that matches or be prepared to relocate pipes. If you’re working with original cast iron drain lines, handle them gently. Tightening connections too aggressively can crack brittle metal, leading to expensive repairs. A plumber familiar with heritage houses can adapt modern PVC fittings to old iron safely.
Sourcing a vintage-inspired sink gives you two paths. Salvage yards and online marketplaces offer genuine antiques, porcelain pedestals with crazing and character, but inspect them carefully for chips and stability. Reproduction models from specialty suppliers provide the same look with modern durability and standard dimensions, often at comparable prices.
Storage is the trade-off. Replace under-sink clutter with wall-mounted open shelving in reclaimed wood or metal brackets, which keep essentials accessible without closing in the space. A vintage medicine cabinet with a beveled mirror adds both storage and light reflection. For sinks near exterior walls, especially in northern climates, check insulation behind the wall cavity before installation. Cold air seeping around pipes can freeze supply lines in winter, so add foam backer or spray insulation to protect your investment year-round.
2. Install a Clawfoot Tub or Compact Soaking Tub
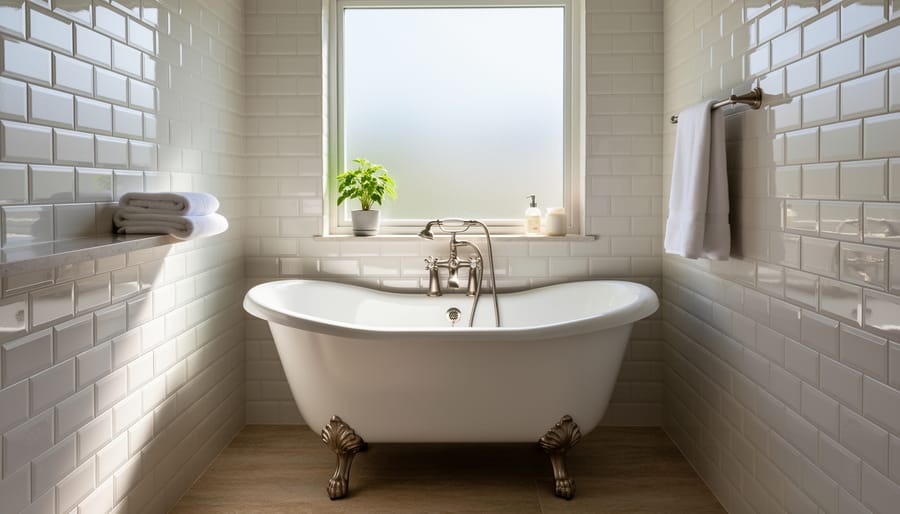
A clawfoot or compact freestanding tub transforms a cramped older bathroom into a luxurious retreat while honoring the home’s original character. These tubs serve as instant focal points, drawing the eye upward and making the room feel more deliberate and finished, especially powerful in spaces where you’re working within tight dimensions. For small bathrooms in heritage homes, look for models in the 48 to 54-inch range rather than standard 60-inch versions. Slipper tubs and Japanese-style soaking tubs pack serious comfort into a smaller footprint, and their vertical depth means you get a proper soak without sacrificing precious floor space.
If your floor needs reinforcement, a contractor can sister additional joists or install blocking between existing framing, not a massive expense, but critical for safety. Salvaged cast iron tubs are widely available and bring authentic period charm, though they’ll need refinishing. Traditional powder coating works well, but eco-friendly options like water-based epoxy coatings have improved dramatically and release far fewer VOCs during application. For a DIY-friendly alternative, acrylic clawfoot reproductions weigh significantly less and come factory-finished, though they lack the heat retention of cast iron.
That heat retention matters in northern climates. Cast iron holds warmth longer than acrylic or fiberglass, so your bath stays comfortable without constant hot water top-ups, a real advantage during long Canadian winters when you want to linger. Pair a deep soaking tub with a handheld shower fixture on a slide bar for practicality, and ensure adequate ventilation to handle the moisture a serious soak generates in cold weather.
3. Add Wainscoting or Beadboard Paneling
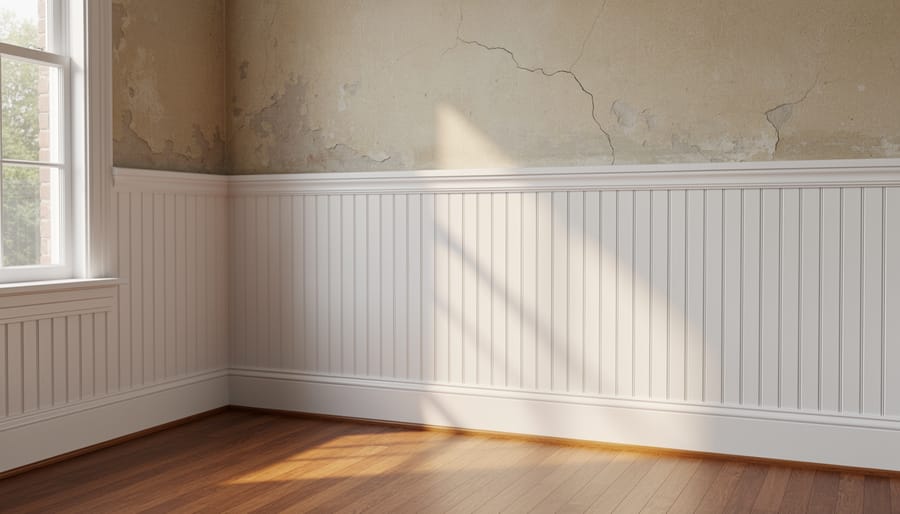
Classic wainscoting or beadboard transforms a cramped, dated bathroom into a space with genuine period character while solving real problems that plague older homes. Installing paneling from floor to chair rail height (typically 32 to 36 inches) creates a visual line that draws the eye upward, making low ceilings feel taller. More importantly, it shields vulnerable lath-and-plaster walls from moisture damage, extending the life of your original plasterwork in a room prone to humidity and splashes.
Beadboard in particular suits heritage bathrooms perfectly. Its vertical grooves align with Victorian and Craftsman aesthetics, and the narrow profile works well in tight quarters. You’ll find it in 4-by-8-foot sheets or individual tongue-and-groove planks. For northern climates with temperature swings and humidity fluctuations, choose moisture-resistant MDF over solid wood. MDF beadboard won’t expand, contract, or warp the way pine or poplar might when your bathroom cycles between steamy showers and cold winter mornings. Look for MDF rated for bathrooms, often labeled as medium-density overlay or moisture-resistant core.
Installation on uneven plaster walls requires patience. Use a level to find high and low spots, then install vertical furring strips to create a flat mounting surface. Attach the beadboard to the furring strips with finishing nails and construction adhesive. Cap the top with a chair rail molding to finish the look and hide any gaps.
Paint delivers the best moisture protection. Prime with a stain-blocking primer, then apply two coats of semi-gloss paint in a light color to brighten the space. Skip stain finishes in bathrooms, they offer less moisture resistance and darken small rooms.
4. Upgrade to Hexagon or Subway Tile Flooring
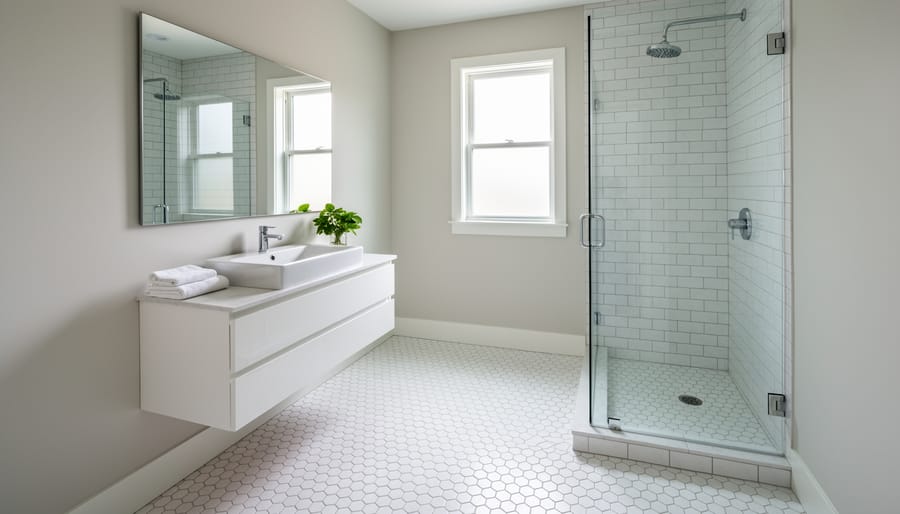
Classic hexagon or subway tile flooring can single-handedly elevate a cramped, outdated bathroom into a bright, period-appropriate retreat. These timeless patterns were popular in early 20th-century homes, so they feel authentic in heritage houses while offering the durability and easy maintenance modern homeowners need. The visual impact is immediate: crisp grout lines and geometric repetition draw the eye across the floor, making the room appear longer and more cohesive.
Before you lay a single tile, address what’s underneath. Older homes often hide warped wood subfloors, cracked concrete, or multiple layers of ancient linoleum glued down with adhesive that’s now brittle and uneven. Strip everything back to the joists or slab, then check for level with a long straightedge. Low spots need self-leveling compound; high spots get sanded or planed. Skipping this step guarantees cracked tiles within a year, especially in northern climates where freeze-thaw cycles stress materials through seasonal temperature swings. If you’re tackling this as a DIY project, rent a floor scraper for linoleum removal and budget an extra day for subfloor prep, it’s unglamorous work that determines whether your new floor lasts five years or fifty.
For tile selection, porcelain beats ceramic every time in northern climates. Porcelain’s low water absorption rate makes it frost-proof and less prone to cracking when temperatures drop below freezing near exterior walls or unheated crawl spaces. Look for tiles with a slip-resistance rating (COF of 0.5 or higher) to prevent falls on wet mornings. One-inch hexagons create vintage charm but require more grout lines and patient installation; three-by-six subway tiles laid in a classic brick pattern move faster and still honor the home’s era. Both patterns work beautifully in small footprints because the repetition creates rhythm without visual clutter.
Grout color is your secret weapon for expanding perceived space. Bright white grout against white or pale tiles blurs boundaries and bounces light around the room, counteracting the dim natural light common in older bathrooms with small windows. Light gray grout hides staining better while still keeping the floor airy; avoid dark grout unless you want a bold grid that visually shrinks the space. Seal grout within 72 hours of installation to resist mildew in humid conditions.
If you’re already tearing up the floor, consider adding radiant heating. Electric mat systems slip right over the leveled subfloor before tiling, typically costing $300 to $600 for a small bathroom, affordable luxury that transforms cold Canadian mornings. The mats are thin enough not to raise the floor height significantly, critical in older homes where doorways and trim were cut to tight tolerances.
5. Install a Large Vintage or Beveled Mirror
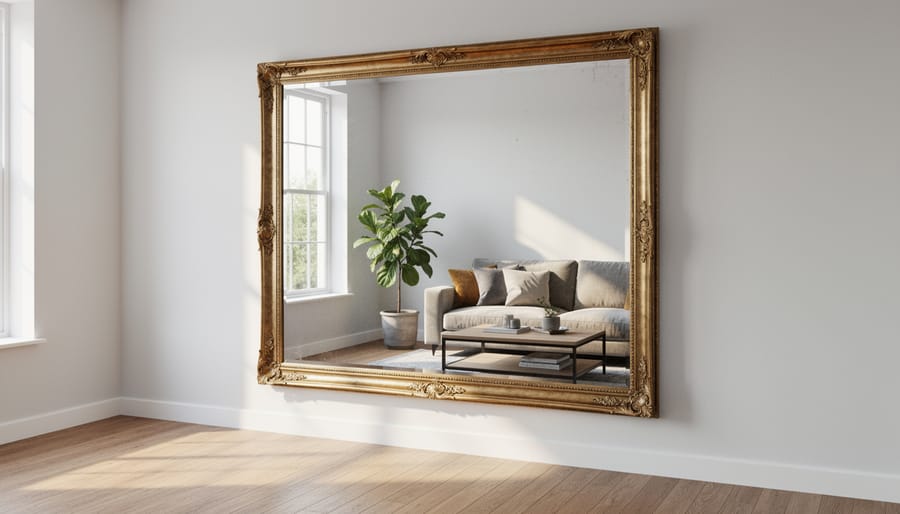
A well-placed mirror transforms a cramped older bathroom into a space that feels twice its actual size. Oversized mirrors with beveled edges or vintage frames bounce what little natural light these rooms receive, crucial during long northern winters when daylight barely reaches interior spaces. A large mirror positioned opposite or adjacent to a window multiplies brightness and creates depth, making a 50-square-foot bathroom feel genuinely spacious.
Sourcing period-appropriate mirrors requires patience but delivers authentic character. Check architectural salvage yards, estate sales, and online marketplaces like Facebook Marketplace or Kijiji for heavy wood-framed or ornate gilt mirrors from the 1920s through 1950s. Reproduction beveled mirrors are available through specialty retailers if you prefer new. Look for mirrors at least 24 inches wide, bigger is better, and consider vertical orientation to draw the eye upward in a room with standard 8-foot ceilings.
Mounting safely on fragile lath-and-plaster walls requires finding studs with a quality stud finder or using heavy-duty toggle bolts rated for the mirror’s weight plus a safety margin. Distribute weight across two mounting points minimum. If your bathroom backs onto an exterior wall, ensure proper insulation behind the mirror area to avoid cold spots that cause condensation and frame damage.
Pair your mirror with updated sconces or pendant lights on either side rather than overhead only. This layering eliminates shadows and maximizes the reflective benefit, making your small bathroom feel bright and airy even on the darkest January mornings.
6. Paint Walls and Trim in Light, Period-Appropriate Colors
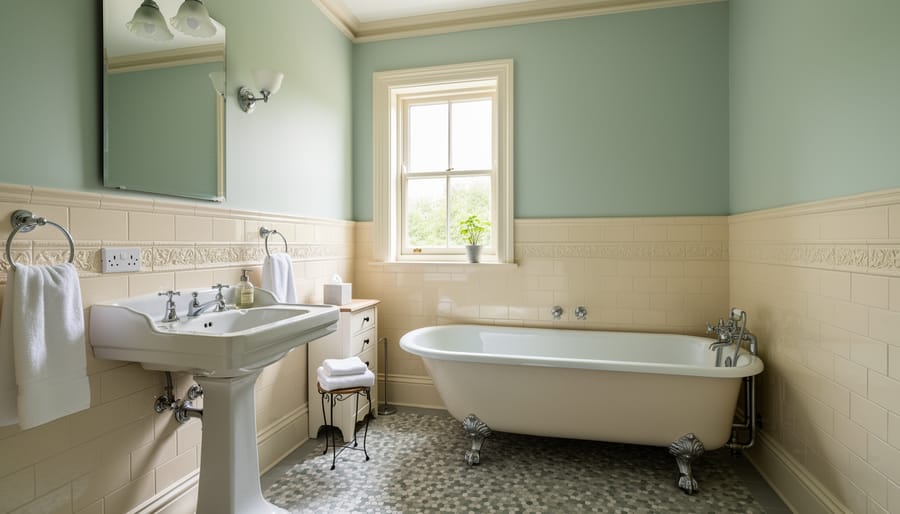
A fresh coat of paint delivers one of the fastest, most affordable transformations in a small bathroom, especially when you choose light, period-appropriate colors that honor your older home’s heritage while making the space feel larger and brighter.
Soft whites with warm undertones, like ivory or cream, work beautifully in heritage bathrooms, as do pale grays and muted pastels such as dusty blue or sage green. These colors were commonly used in older homes and naturally expand the room visually by reflecting available light. In northern climates where natural light is limited for much of the year, lighter walls become even more crucial for preventing that cave-like feeling.
Preparing old plaster walls requires patience. Fill cracks with joint compound, then skim coat uneven areas to create a smooth surface. Prime thoroughly with a stain-blocking primer to prevent old water stains or tannins from bleeding through. This prep work makes all the difference between a professional-looking result and a patchy disappointment.
Choose low-VOC, mildew-resistant bathroom paint formulated for high-moisture environments. Bathrooms in older homes often lack modern ventilation, making mold-resistant formulations essential. Benjamin Moore Aura Bath & Spa and Sherwin-Williams Duration Home are reliable options that stand up to humidity and temperature swings.
For trim, railings, and window frames, use high-gloss paint in a crisp white or historically accurate color. The reflective finish bounces light around the room and adds an elegant, finished look that draws the eye upward, making low ceilings feel taller. This simple combination, light walls, glossy trim, creates visual expansion without changing the room’s footprint.
7. Swap Out Fixtures for Vintage-Style Brass or Matte Black
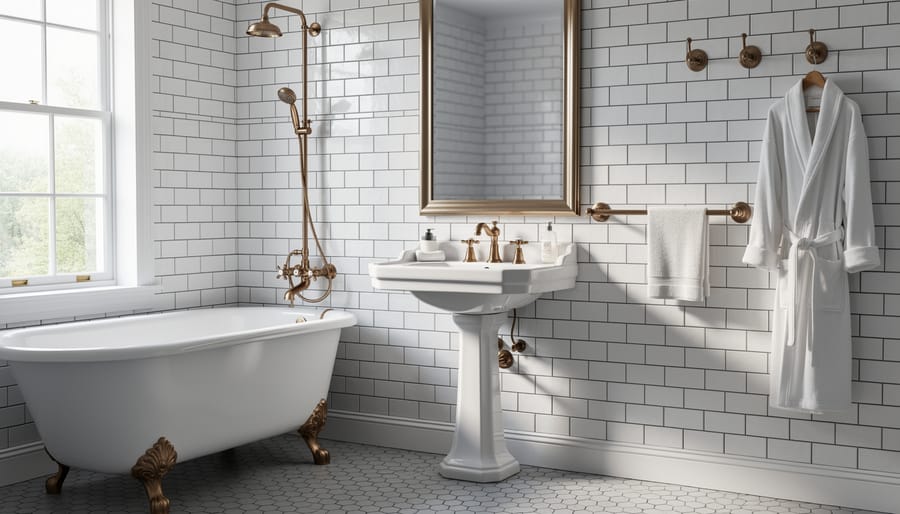
Replacing dated chrome or builder-grade fixtures with vintage-inspired hardware delivers an instant cohesion that ties the entire bathroom together. When you swap a basic chrome faucet for an unlacquered brass or matte black tap, you’re not just updating a single element, you’re establishing a design language that honors the home’s era while feeling fresh and intentional.
Unlacquered brass develops a natural patina over time, adding depth and authenticity that suits pre-1950s homes beautifully. Oil-rubbed bronze offers a darker, more dramatic finish with subtle bronze undertones showing through the aged surface. Matte black has surged in popularity for its clean, modern edge that still pairs well with vintage tile and period features. Choose one finish and carry it through every fixture, faucets, towel bars, toilet paper holders, cabinet pulls, shower heads, to create visual harmony in a small space.
Installation can be tricky in older homes. Sinks from the 1920s through 1950s often have non-standard hole spacing, sometimes three holes closer together, sometimes a single center hole, that doesn’t match modern faucet configurations. Look for widespread faucets with adjustable spacing or bridge-style models designed for vintage sink layouts. If you’re stuck with an awkward configuration, a deck plate can cover extra holes and give you a clean base for a modern faucet body.
Source affordable reproduction hardware from restoration specialists like House of Antique Hardware or Signature Hardware, or scour architectural salvage shops for authentic period pieces. Online marketplaces often have new-old-stock fixtures from the 1960s and 70s at reasonable prices. Prioritize solid brass construction over plated zinc, it lasts decades and won’t flake or corrode in a humid northern bathroom.
8. Improve Lighting with Layered Vintage-Inspired Fixtures
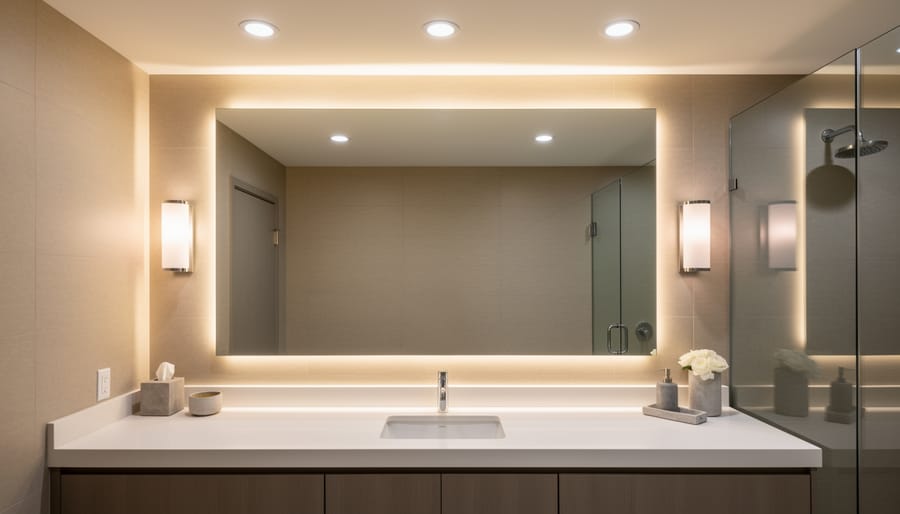
A single overhead bulb is the enemy of a small, older bathroom. It casts harsh shadows, flattens charm, and makes morning routines grim during long northern winters. Layered lighting transforms the room into a bright, functional space that honors your home’s period character while addressing the practical needs of daily use.
Start by replacing that bare bulb with a vintage-inspired ceiling fixture: a frosted glass shade, a brass semi-flush mount, or a period-appropriate pendant. This provides ambient light but isn’t enough on its own. Add sconces flanking the mirror for shadow-free task lighting. Wall-mounted fixtures with milk glass or etched shades deliver the soft, even glow you need for grooming without harsh glare. If space allows, a small accent light near a window or architectural detail adds depth.
A complete layered lighting plan includes:
- Ambient lighting from a ceiling-mounted vintage fixture for overall illumination
- Task lighting with mirror sconces or vanity lights for grooming and detail work
- Accent lighting to highlight architectural features or boost natural light
- Dimmer switches on all circuits for flexibility and mood control
Older homes often present wiring challenges. Knob-and-tube systems must be replaced before adding new circuits, and running wire through lath-and-plaster walls requires care to avoid damaging original materials. Hire a licensed electrician familiar with heritage houses if you’re not confident working with outdated electrical systems. Many vintage-style fixtures accommodate standard junction boxes, simplifying installation.
Choose LED bulbs rated for cold climates. They perform reliably in unheated spaces during Canadian winters, last years, and dramatically reduce energy costs compared to incandescent bulbs. Soft white (2700-3000K) mimics the warmth of period lighting without the inefficiency.
Maximize natural light with frosted or textured glass window treatments that preserve privacy while letting daylight flood in. Combined with thoughtful fixture placement and routine moisture cleaning around fixtures, layered lighting keeps the bathroom bright and welcoming year-round. Pair it with natural bathroom care habits to maintain both the fixtures and the room’s refreshed atmosphere.
Frequently Asked Questions
Can I DIY these changes or do I need a contractor?
Most of these projects are DIY-friendly for homeowners comfortable with basic tools: painting, installing mirrors, swapping fixtures, and adding wainscoting require patience more than specialized skills. Plumbing work like replacing a vanity with a pedestal sink or installing a clawfoot tub typically requires a licensed plumber, especially in older homes where cast iron pipes and non-standard connections demand professional handling.
How do I work around old plumbing without a full gut?
Focus on updates that use existing supply and drain locations: swap fixtures in place rather than relocating them, use flexible supply lines to adapt modern faucets to old spacing, and inspect pipes for corrosion before starting work. If you discover knob-and-tube wiring or severely corroded plumbing during cosmetic updates, address those safety issues first before finishing aesthetic changes.
What’s the average budget for a small bathroom refresh in an older home?
Expect to spend between $3,000 and $8,000 for a cosmetic refresh that includes painting, new flooring, updated fixtures, a pedestal sink, and improved lighting. Adding a clawfoot tub or addressing structural issues like floor reinforcement can push costs to $10,000 or more, while tackling one or two projects at a time keeps individual expenses manageable.
How do I maintain original character while adding modern function?
Choose reproduction fixtures and materials that match your home’s era, preserve original details like crown molding or window casings, and select finishes that complement existing architectural features. Modern conveniences like LED lighting, low-flow faucets, and moisture-resistant paint can hide behind period-appropriate styling without compromising the room’s historic charm.
Are permits required for these updates in Canada?
Cosmetic changes like painting, replacing fixtures, and adding wainscoting typically don’t require permits, but any work involving plumbing alterations, electrical circuits, or structural modifications does. Check with your local municipality before starting: heritage homes may face additional restrictions or require approval from a heritage committee for exterior-visible changes like window replacements.
These answers reflect the reality that older homes reward a cautious, respectful approach. Start with the changes you can handle confidently, hire professionals for the technical work, and budget for surprises. Old houses have quirks, and uncovering them mid-project is normal. The good news is that most of these eight ideas work within existing layouts and systems, making dramatic improvements possible without the disruption and expense of a complete remodel. When you respect what’s already there and layer in thoughtful upgrades, you end up with a bathroom that feels both timeless and functional.
Small bathrooms in older homes aren’t limitations, they’re canvases for high-impact transformation. Each of the eight ideas we’ve covered works because it respects your home’s heritage while solving modern problems: tight space, outdated fixtures, and the unique demands of northern climates.
Start with one project that excites you most. Swap that bulky vanity for a pedestal sink, or paint the walls in a light, period-appropriate shade. You’ll see immediate results without the cost or disruption of a full gut. Then add another layer: install wainscoting for charm and moisture protection, upgrade to vintage-inspired fixtures, or lay classic hexagon tile that looks like it’s always been there.
These aren’t trendy fixes that’ll feel dated in five years. They’re timeless upgrades that honor your home’s character while making the bathroom warmer, brighter, and more functional for daily life. You’re not erasing history, you’re writing the next chapter of it.
Your older home has survived decades of hard use and harsh winters. With thoughtful updates that balance beauty and practicality, your bathroom can become one of its most charming spaces. Pick a project, roll up your sleeves, and start making that small room work harder for you.
