

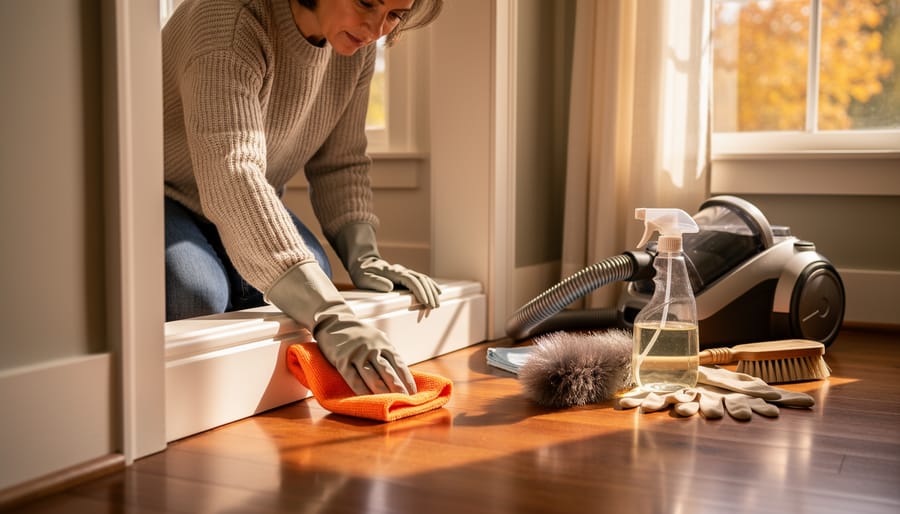
Fall cleaning prepares your northern climate home for five to six months of sealed windows, minimal ventilation, and constant heating system use. Unlike spring cleaning’s focus on freshening up after winter, fall cleaning targets the systems, surfaces, and spaces that will directly affect your indoor air quality, heating efficiency, and comfort once temperatures drop below freezing. Plan for two full weekends to complete a thorough fall clean, or tackle one room each evening over three weeks.
The timing matters more than most seasonal tasks. Northern homeowners face a narrow window between the last warm days suitable for outdoor work and the first hard freeze that makes exterior cleaning impossible. Wait too long and you’ll scrub windows in freezing temperatures or find yourself unable to clear gutters packed with wet leaves turned to ice.
This guide walks you through the complete fall cleaning process, room by room, with specific attention to the challenges of Canadian winters and northern U.S. climates. You’ll learn which tasks require immediate attention, which can wait, and how to prioritize when time runs short. The process includes deep cleaning tasks you skip during weekly maintenance, preventive work that stops winter problems before they start, and system checks that ensure your home runs efficiently when outdoor temperatures plunge.
Whether you’re tackling your first fall cleaning or refining an established routine, the systematic approach here ensures nothing critical slips through as cold weather arrives.
What You’ll Need: Fall Cleaning Tools and Supplies
Before you dive into your fall cleaning routine, gather the right supplies to work efficiently and safely through every room and outdoor space. Having everything on hand means you won’t lose momentum halfway through a task, and choosing the right tools makes the work easier on your back and your budget.
Basic Cleaning Supplies
Start with versatile, multi-surface cleaners that handle most jobs. A good all-purpose cleaner, white vinegar (a Canadian pantry staple that cuts grease and costs pennies), baking soda for scrubbing, microfiber cloths that last for years, a sturdy vacuum with attachments, a mop and bucket, and rubber gloves will cover your indoor cleaning needs. If you’re watching your budget, vinegar mixed with water in a spray bottle replaces most commercial cleaners for windows, counters, and floors.
Window and Outdoor Preparation
You’ll need a squeegee and window cleaner for both sides of your glass before the cold sets in, a ladder that reaches your gutters safely, a garden hose with a spray nozzle, weatherstripping tape, caulk and a caulking gun for sealing drafts, and outdoor cleaning tools like a deck brush or power washer if you have one. A small putty knife helps remove old weatherstripping without damaging frames.
HVAC and Air Quality
Stock up on furnace filters in the correct size (check your furnace manual), a vacuum attachment with a long hose for vent cleaning, and a flashlight for inspecting ducts and dark corners. Many northern climate homes also need humidifier cleaning tablets and fresh batteries for carbon monoxide detectors.
Pest Prevention and Safety
Steel wool and expanding foam seal entry points mice can’t chew through, while caulk closes smaller cracks. Keep a first aid kit handy, wear safety glasses when working overhead, and consider a dust mask if you’re cleaning dusty storage areas or attics. A headlamp frees both hands when you’re working in tight spaces like under sinks or behind appliances.
Most of these supplies you already own or can pick up at Canadian Tire, Home Depot, or your local hardware store for under fifty dollars total.
Safety and Preparation Tips
Before you dive into your fall cleaning routine, take a few moments to set yourself up for safe, efficient work. Northern climate conditions add extra considerations that you won’t face during spring cleaning, so proper preparation matters more than you might think.
Start with ladder safety, especially since you’ll be cleaning gutters, washing high windows, and checking roof areas before winter arrives. Always inspect your ladder for damage before use, ensure all locks are engaged, and position it on level, stable ground. Have someone spot you when working above 10 feet, and never lean too far to either side. If temperatures have already dropped below freezing, check for ice on rungs and work surfaces before climbing.
When working with cleaning products, read labels carefully and never mix chemicals, particularly bleach and ammonia-based cleaners. Wear gloves to protect your skin, and use eye protection when cleaning overhead or working with spray products. Store all chemicals in their original containers, away from children and pets, and ensure they won’t freeze in unheated storage areas over winter.
Pay attention to weather conditions when tackling outdoor tasks. Plan gutter cleaning and exterior washing for dry days above 10°C, and avoid working on roofs or ladders when it’s windy. If temperatures are hovering near freezing, complete outdoor water-related tasks early in the day before ice forms.
Know your limits and call professionals for tasks beyond your comfort level. Furnace inspections, electrical work, roof repairs, and anything requiring specialized tools or expertise should be left to licensed contractors. The cost of professional help is far less than the risk of injury or improper work that could cause winter problems.
Room-by-Room Fall Cleaning Process
Kitchen Deep Clean
Pull out your refrigerator and stove to vacuum the dust and debris that accumulates behind them throughout the year. This hidden grime reduces appliance efficiency and attracts pests looking for warm winter shelter. While you’re back there, wipe down the walls and floor with an all-purpose cleaner.
Your range hood works hard all year, and fall is the perfect time to tackle the greasy buildup. Remove the filters and soak them in hot water with degreasing dish soap for 30 minutes, then scrub and rinse thoroughly. Wipe down the hood exterior and interior surfaces, paying special attention to the fan blades where grease accumulates.
- Clean refrigerator coils with a coil brush or vacuum attachment to improve energy efficiency before winter heating bills kick in
- Organize your pantry, checking expiration dates and transferring dry goods into airtight containers to prevent pest infestations
- Sanitize your garbage disposal by grinding ice cubes and citrus peels, followed by a baking soda and vinegar flush
- Inspect under the sink and around baseboards for gaps or cracks, sealing any openings with caulk or steel wool to block mouse entry points
A thoroughly cleaned kitchen not only functions better but creates a foundation for those cozy kitchen ideas you’ll want to implement as the holiday season approaches. Check behind your dishwasher and around pipe entry points for any gaps that need sealing before rodents start seeking indoor warmth.
Living Areas and Bedrooms
Start by vacuuming under furniture and along baseboards where dust accumulates through summer. Pull beds and couches away from walls to reach hidden areas where pet hair and allergens settle.
Rotate your mattress end-to-end to extend its life and ensure even wear. If you’re considering a DIY mattress refresh fall is an ideal time before you’re sleeping under heavy blankets all winter.
Take down curtains and drapes for washing or dry cleaning. Check for any musty smells that signal trapped moisture. While they’re down, wipe window sills and frames, looking for condensation stains that could turn into mold problems once windows stay closed.
Clean baseboard heaters and cold air returns thoroughly before you fire up the furnace. A damp cloth removes accumulated dust that would otherwise burn and circulate through your home all season.
Swap your closets for winter clothing and vacuum the floor while it’s empty. Store summer items in sealed containers to prevent moth damage.
This is also the perfect time to embrace fall decor trends or make pillow covers that refresh your space for cozy winter months ahead.
Bathrooms
Start with the grout and caulking around your tub and shower. Scrub grout lines with a mixture of baking soda and water, or use a dedicated grout cleaner if they’re heavily stained. Check all caulking for cracks, mold, or gaps, these let cold air in and moisture behind your walls. If you spot problems, scrape out the old caulk and apply fresh silicone before winter weather makes the job miserable.
Turn on each faucet and flush the toilet while checking underneath for drips or pooling water. Even small leaks waste energy when you’re heating your home. Feel around windows and baseboards for drafts, then seal them.
Remove the exhaust fan cover and vacuum out dust buildup so it vents properly during those long, steamy showers ahead. Go through your medicine cabinet and toss anything expired, cold and flu season is coming, and you need to know what’s actually useful.
Windows and Doors
Start with exterior windows while temperatures are still manageable, cold glass and frozen cleaning solution make the job miserable. Use a squeegee and a solution of warm water with a few drops of dish soap. Work from top to bottom, wiping the squeegee blade between strokes. Don’t skip the frames and sills; dirt buildup here can prevent proper sealing.
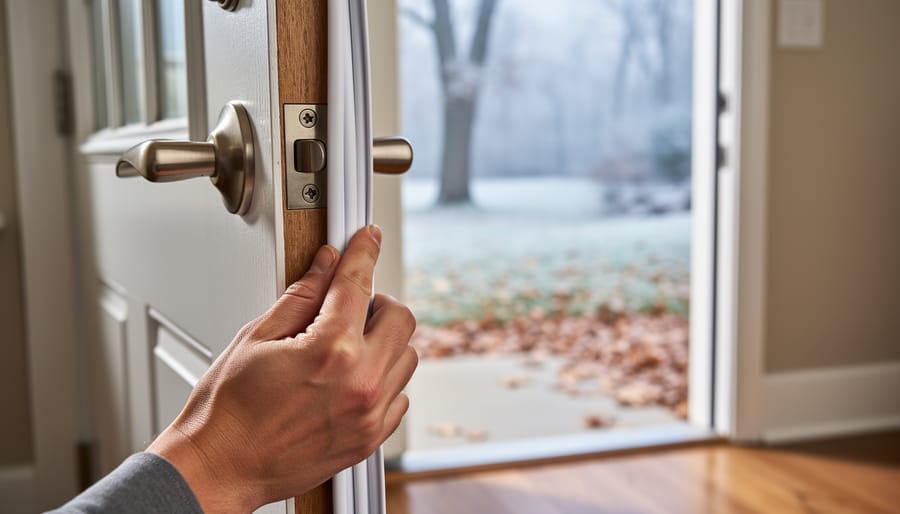
Inside, vacuum window tracks before wiping them down. Grit and debris compress weatherstripping and create gaps. Run your hand along window frames and door edges to feel for drafts. Replace worn weatherstripping now, before you’re trying to do it in sub-zero temperatures with numb fingers.
Check door sweeps at the bottom of exterior doors. A quarter-inch gap wastes serious heating dollars over a Canadian winter. If you have storm windows, clean both sides thoroughly before installing them. Inspect the glazing and seals, cracked glazing lets moisture between panes, creating that foggy look you can’t fix once it’s installed.
Test each window’s lock mechanism. A window that doesn’t latch tight won’t seal properly, no matter how good the weatherstripping.
HVAC and Air Quality Systems
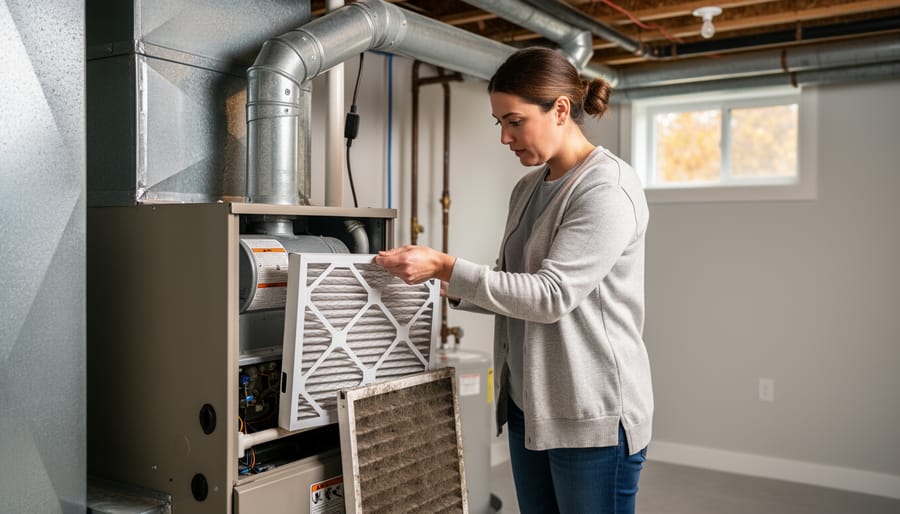
Start with your furnace filter, a fresh one improves air quality and heating efficiency throughout winter. Most filters need replacing every one to three months, but check yours now regardless of the last change date. Hold it up to light; if you can’t see through it clearly, swap it out.
Next, vacuum all air vents and return grilles using your brush attachment. Remove the covers and wipe them down with a damp cloth. Don’t forget ceiling vents, they collect surprising amounts of dust that recirculates through your home once heating starts.
If you use a humidifier, disassemble and clean all components according to the manufacturer’s instructions. Mineral buildup reduces effectiveness and can harbor bacteria. Replace the water panel or filter if your system uses one.
Test every carbon monoxide detector in your home by pressing the test button. Replace batteries even if they seem fine, winter heating season isn’t the time to discover dead batteries. Detectors older than seven years should be replaced entirely.
Schedule a professional furnace inspection before cold weather arrives if you haven’t had one in the past year. Technicians catch problems before they become expensive mid-winter emergencies.
Basement and Storage Areas
Basements become especially vulnerable once you seal up your home for winter, so now’s the time to address moisture and pest issues. Walk the perimeter and examine foundation walls for cracks or gaps, seal any openings larger than a quarter-inch with hydraulic cement or caulk to keep out both water and rodents. Check corners and along the floor for signs of moisture, white efflorescence on concrete, or musty smells that signal poor ventilation.
Pull your dehumidifier away from the wall and vacuum the coils, then wash the bucket with diluted bleach to prevent mold buildup. Empty window wells of leaves and debris that can trap moisture against foundation walls. Sort through stored seasonal items and consolidate what you’re keeping, mice love nesting in cardboard boxes, so switch to sealed plastic bins.
Make sure basement vents aren’t blocked by stored items, and confirm your sump pump operates properly by pouring a bucket of water into the pit.
Outdoor Preparation Tasks
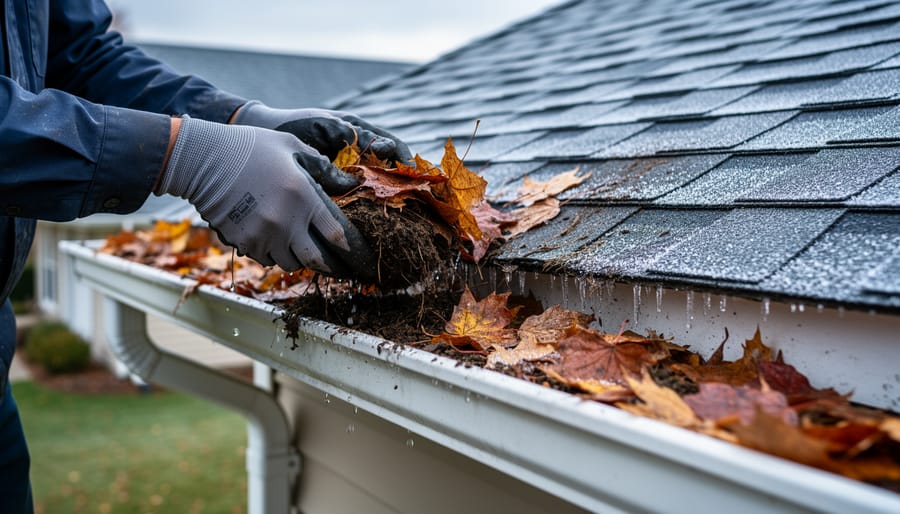
Start with gutters and downspouts, remove all leaves, twigs, and debris by hand or with a gutter scoop, then flush with a garden hose to check drainage. Look for sagging sections or leaks that need fixing before snow arrives.
Power wash your siding and deck while temperatures are still above 10°C. Work from top to bottom, holding the nozzle at least 30 cm away to avoid damage. Let everything dry completely before freezing weather hits.
Bring cushions indoors and stack chairs or store them in a shed or garage. Clean your BBQ grates thoroughly, empty the grease trap, disconnect propane tanks, and cover with a weatherproof tarp.
Drain outdoor faucets by shutting off interior valves and opening exterior taps. Remove and coil hoses, then store them indoors to prevent cracking.
Take down window screens, wash both sides with soapy water, dry completely, and store flat or standing to avoid bending the frames.
How to Know When You’re Done: Verification Checklist
You’ll know your fall cleaning is complete when you can walk through your home and confidently answer “yes” to a series of critical checkpoints. The goal isn’t perfection, it’s preparation. Your home should feel fresh, sealed against the elements, and ready to function efficiently through months of cold weather.
Start with a physical walkthrough of each room you’ve cleaned. Run your hand along windowsills and door frames to feel for drafts. Check that all weatherstripping is intact and doors close tightly without gaps. Look up at ceiling corners and along baseboards for any missed cobwebs or dust. Open closets and storage areas to confirm seasonal items are organized and accessible.
Test your heating system by running it for at least 30 minutes. Listen for unusual noises, check that all vents are blowing warm air, and verify the thermostat responds correctly. Your furnace filter should be new, and you should smell nothing but clean, warm air, no dust, mustiness, or burning odors.
Outside, your verification checklist includes these essential points:
– All outdoor water sources shut off and drained to prevent frozen pipes
– Gutters and downspouts clear and draining away from the foundation
– Window screens removed, cleaned, and stored for winter
– Outdoor furniture covered or stored in a dry location
– Garden hoses drained, coiled, and stored indoors
– Foundation perimeter checked for gaps, cracks, or potential pest entry points
– Siding and deck surfaces clean and free of debris that traps moisture
Finally, check your pantry and storage areas one last time. Everything should be organized, sealed containers should be airtight, and there should be no signs of moisture, mold, or pest activity. If you can complete this verification walk-through without finding urgent issues, your fall cleaning is done and your home is winter-ready.
Common Fall Cleaning Questions
When is the right time to start fall cleaning? The answer depends on your region, but most Canadian homeowners should aim to complete fall cleaning between late August and mid-October, before the first hard freeze. In northern areas, start earlier, by early September, to avoid working in cold conditions. Watch your local forecast and aim to finish outdoor tasks before nighttime temperatures consistently drop below 5°C.
What if I don’t have time for everything? Prioritize tasks that affect safety, energy efficiency, and pest prevention. Your furnace inspection, gutter cleaning, and sealing entry points should come first. Window washing and deep organizing can wait if needed, but don’t skip tasks that prevent winter damage or health hazards.
When should I start fall cleaning in Canada?
Begin in late August to early September in northern regions, completing outdoor tasks before the first hard freeze. Aim to finish everything by mid-October at the latest.
Do I need to clean everything or can I prioritize?
Focus first on safety-critical and energy-saving tasks: furnace inspection, gutter cleaning, weatherstripping, and sealing pest entry points. Deep cleaning and organizing can be secondary if time is limited.
Should I hire professionals for any tasks?
Yes, hire licensed technicians for furnace inspections and repairs, chimney cleaning if you use a fireplace, and roof work if you’re uncomfortable on ladders. These tasks involve safety risks and specialized knowledge.
How is fall cleaning different from spring cleaning?
Fall cleaning focuses on winterization and prevention, sealing your home, preparing heating systems, and blocking pests, while spring cleaning emphasizes opening up, airing out, and refreshing after months indoors.
How often should I clean my furnace filter during winter?
Check monthly and replace every 1-3 months depending on filter type, pets, and usage. Homes with pets or high furnace use may need monthly replacements.
Can I tackle fall cleaning in one weekend? A thorough fall clean typically takes 2-3 weekends for most homes, depending on size and condition. Break tasks into manageable chunks: one weekend for indoor deep cleaning, another for outdoor prep and windows, and time between for any professional appointments. Trying to rush through everything increases the chance you’ll miss critical winterization steps.
Taking the time to complete your fall cleaning now pays dividends all winter long. When your furnace runs efficiently, your windows seal out drafts, and pests have no way in, you’ll enjoy a warmer, safer home while spending less on heating bills. These Fall Cleaning Essentials create a foundation for comfort during the long northern months ahead.
Tackle your tasks room by room rather than all at once. A systematic approach makes the job manageable and ensures nothing gets overlooked. Your fall cleaning naturally sets the stage for upcoming celebrations too, a thoroughly cleaned home makes holiday table prep and entertaining much easier when the season arrives.
The effort you put in today prevents expensive repairs, uncomfortable drafts, and emergency calls when winter hits hard. Your future self will thank you.
