
It’s a question asked each year as the festive season approaches: “When is the best time to put up a Christmas tree?” In 2023, this timeless query echoes once more throughout homes as families start to ponder over the right moment to unveil their holiday magic. The best time to put up Christmas tree depends on some factors and traditions. But remember, these dates are merely suggestions based on tradition and common practice. The best time to put up your Christmas tree is when it feels right for you and your family, and it…
Continue readingHow to Properly Extract Cannabis Oil at Home

CBD oil is increasingly becoming popular as an alternative treatment for a variety of health issues. Due to the numerous research studies that connect CBD to the management of mental health issues and other illnesses, more and more people are becoming curious about the benefits of Exhalwell CBD. In fact, the market for CBD has expanded as there are growing demands for homemade CBD oil.
If you already grow cannabis at home, this …
Which Colours Can Improve Classroom Productivity

Blue and green are the best colours for classrooms as they have been found to increase productivity and creativity. While it is important to have a well-designed and stimulating classroom, the use of colour can also play a role in how well students learn. In this article, we will explore how different colours can be used in order to improve classroom productivity.
Blue and Green Are the Best Colours for Productivity and Creativity
Blue and green are found to be the best colours for productivity and creativity in the classroom setting. A study by Texas A&M University found that these colours can improve focus and …
Top 5 Weighted Blankets to Buy Now

Weighted blankets are becoming a popular solution to the problem of sleeplessness and stress. They’re heavy blankets filled with beads that provide deep pressure that works on the body to induce sleep and relaxation. Due to their varieties, picking the best weighted blanket can be challenging. Here are the top 5 weighted blankets to purchase online.
1. Bambury Weighted Blanket
This weighted blanket is made from two…
Tips on Reducing the Impact of Indoor Vaping and Smoking for a Healthy Home Environment

Smoking and vaping are not allowed in many public places such as restaurants and workplaces. That is because vaping articles pour vapoteurs beloeil indoors can pose some health concerns. When one puffs a cigarette inside the house, an unpleasant smell is produced, and a yellowish stain is deposited on the wall. Vaping produces a residue since most e-cigarettes have nicotine.
The Scientific Concept on Smoking Vs. Vaping Indoors
According to a study done in 2018, vaping of nicotine and other chemicals leaves residues on any surface close to where one is vaping.
A …
How to Create Your Own Mattress

Is it possible to produce your ideal mattress on your own? The answer is yes.
Even better, you could likely make anything for a lot cheaper. Although a DIY mattress will appear to be handmade, this could look just as good to lie on and be just as long-lasting as a conventional mattress as long as you use high-quality components.
Besides, since good-quality Canadian form mattresses & sleep go hand in hand, you can also focus on making yours as comfortable as possible. To make a mattress at home, you simply have to consider the following:
Learn …
Growing Fresh Herbs at Home is Easier than You Imagined

If you love herbs and use them in your drinks, dishes, and bath at home, then why not grow one at home? It is cheaper and more satisfying to use, knowing that you’ve grown it by yourself.
Basil
You can use basil in dried form or fresh. It’s easy to buy and store dried basil, but fresh basil can go bad if you don’t use it right away.
To grow basil at home, you will need a pot and an all-purpose fertilizer. You can even keep the plant indoors but be sure to put it in an area where it has access to sunlight.
So, when your pesto craving kicks in, trim off those basil leaves that you have planted …
DIY: Easy Desktop Calendar

This desk calendar is easy to make and personalize.
You will need:
8″ x 12″ wooden shadow box
Sandpaper
26 pieces of 2 1/2″ x 5″ kraft paper hang tags
Drill
3 shoulder hooks
Pentel pens, colors of choice
How to make it:
Sand the shadow box until its surfaces become smooth.
Place three kraft tags inside the box and adjust the spacing so that the three are equidistant from each other.
Mark the spots where you want to hang each kraft tag, then drill a hole for each….
DIY Tips for Ring Towel Holders
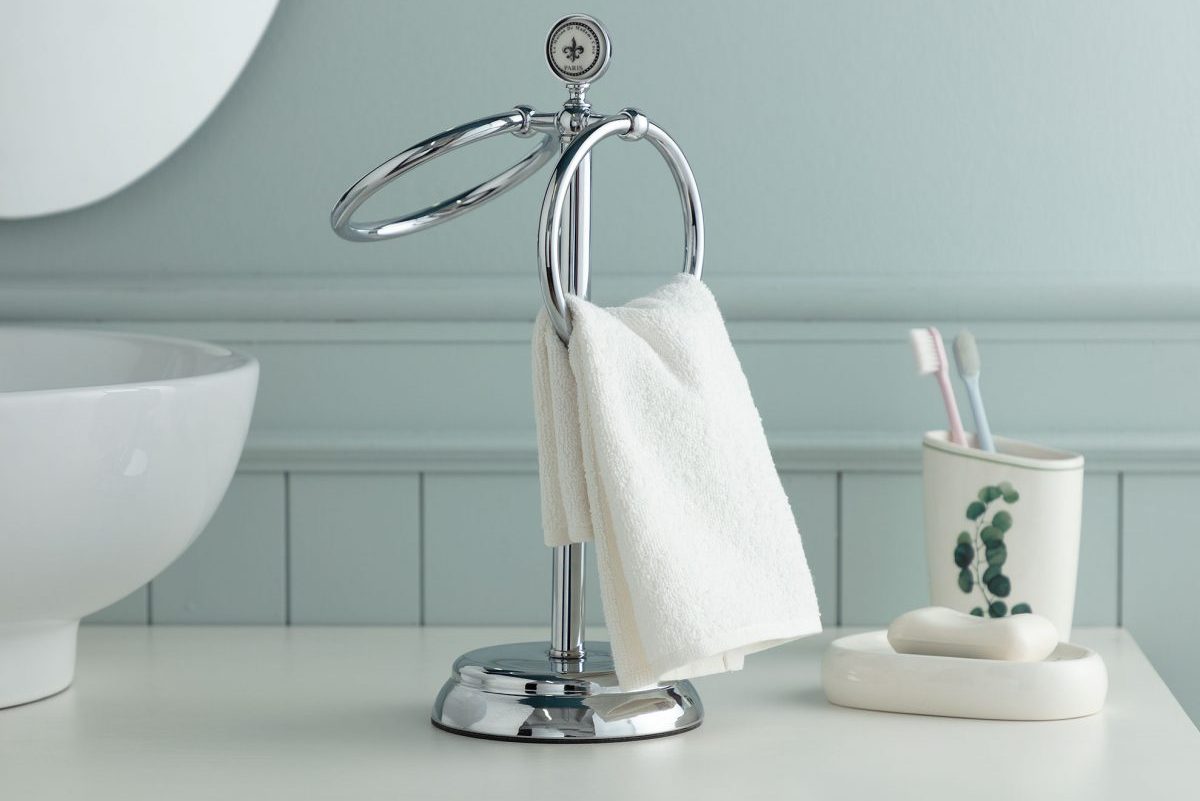
Looking for ways to maximize storage in your bathroom or kitchen without limiting elegance? Have a holder that can hold up to three towels, but for the space of one.
For this DIY project, you will need:
3 pieces of 1 1/2-inch ribbon, cut in 16, 20, and 24 inches, respectively
4 wooden rings
3 double-cap rivets
Puncher
Anvil
Rivet setter
Hammer
How to make it:
Set one wooden ring as the top hanger.
Bend the ribbon in half and place the “top hanger” wooden ring and another wooden ring (for the bottom …
DIY: Throw Pillow Covers

If you have some cute or cool oversized t-shirts which you won’t use anymore then, why not turn them into throw pillow covers?
You will need:
XL t-shirt or even larger
Pins
Scissors
Ruler
How to make it:
Lay the shirt on a flat surface and pin the front and back parts of the t-shirt together.
Cut out the sleeves and the neckline of the shirt. Be sure that when you cut, go as close to the edges as much as you can, so there will be more fabric to work on later.
Fold the shirt lengthwise, then crosswise. …
Decorating During Holidays Questions & Their Answers

Q: What do I do if I want to do grand celebrations at home during the holidays, but my kitchen skills are far from good?
A: Holidays are all about decorations and imagery. It’s all about making things look presentable and camera-ready. If you can’t cook, worry not! You can order food from outside to save time. Serve the food on high-end tableware to make it look classy.
Q: What do I do to set the “holiday” tone of the party?
A: If you want to set the tone of the party, aside from the decorations, you must see to it that the lighting…
3 Eco Tips for Choosing Cleaning Products for Your Home
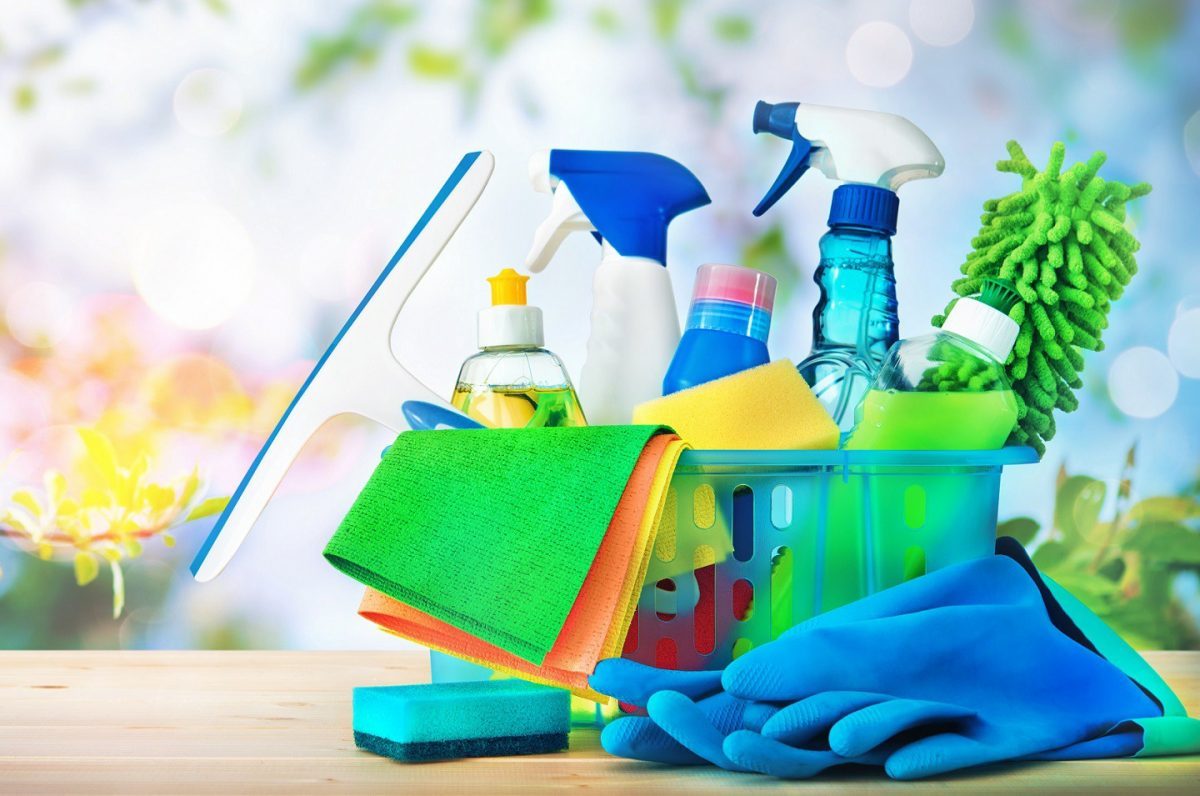
The first thing that comes to mind when cleaning your home is the use of chemicals. Sure, chemicals can be effective cleaners, but a lot of those have negative side effects.
Going natural can have a lot of benefits more than you know. Here are tips for choosing your cleaning products.
1. Read the Ingredients List
Be sure to check the list of ingredients when choosing products. There are a lot of products that use ingredients that may be harmful not only to the environment but also to your family’s health. You should focus on this aspect if you have kids at home.
There are available …