

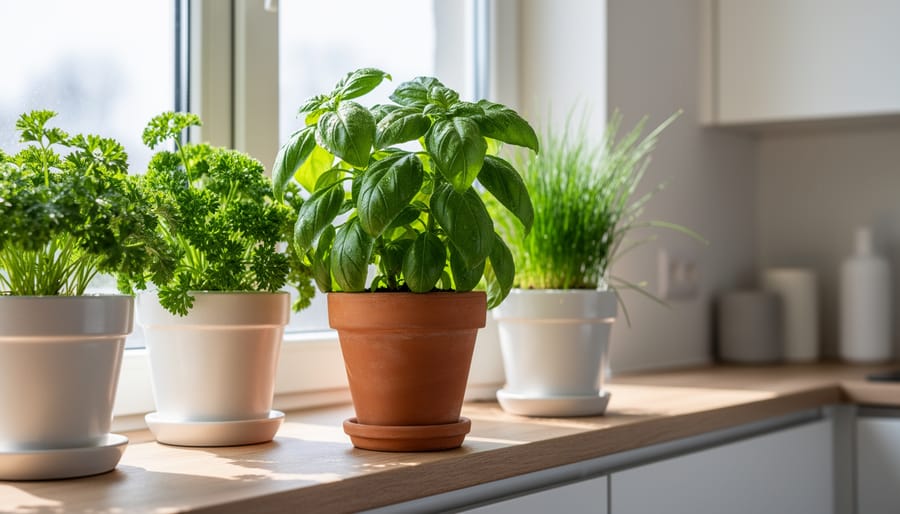
Growing fresh culinary herbs indoors takes just a sunny windowsill, basic containers with drainage, and the right herb varieties. Most kitchen herbs like basil, parsley, and chives thrive in 4-6 hours of direct sunlight daily and can be started from seedlings for harvest within weeks. This setup works particularly well for northern climates where outdoor growing seasons end in early fall and winter air becomes painfully dry for outdoor plants.
The appeal is simple: fresh oregano for your pasta, basil for weekend pizza, or cilantro for tacos without a trip to the grocery store. You’re also sidestepping the plastic packaging and wilted supermarket herbs that cost $3.99 for a handful of leaves. A single potted basil plant on your counter produces more than a dozen store bunches over a growing season.
Northern gardeners face specific indoor challenges that this guide addresses head-on. Short winter days mean supplemental grow lights often become necessary by November. Forced-air heating creates desert-like conditions that stress Mediterranean herbs. Kitchens also bring unique considerations: fluctuating temperatures from cooking, potential exposure to cleaning sprays, and limited counter or windowsill real estate.
This guide walks you through selecting the best herbs for kitchen conditions, assembling your supplies without overspending, positioning plants for success, and troubleshooting the brown tips and leggy growth that frustrate new indoor gardeners.
Why Growing Herbs in Your Kitchen Makes Sense
Growing herbs in your kitchen puts fresh flavor literally at your fingertips. Instead of watching store-bought cilantro wilt in your fridge or paying $4 for a package when you need two tablespoons, you can snip exactly what you need from a plant on your windowsill. That convenience translates to real savings, a $3 basil plant produces months of leaves that would cost $30 or more in those plastic clamshells.
The flavor difference is striking. Herbs lose volatile oils within hours of cutting, which is why supermarket herbs taste flat compared to what you grow yourself. When you harvest seconds before cooking, you get the full aromatic punch that makes the difference between good food and great food.
For those of us dealing with harsh winters and short growing seasons, indoor herbs solve a practical problem. June through September might give you an outdoor garden, but a kitchen setup keeps basil, parsley, and thyme producing through January snowstorms and March mud season. You’re not racing against frost dates or mourning herbs killed by an unexpected cold snap.
Kitchen growing also cuts waste dramatically. No more throwing away half a bunch that turned slimy, or buying an entire plant at the farmers market when you needed a garnish. Your plants keep producing for months, and you take only what each recipe requires.
Best Herbs to Grow in Your Kitchen
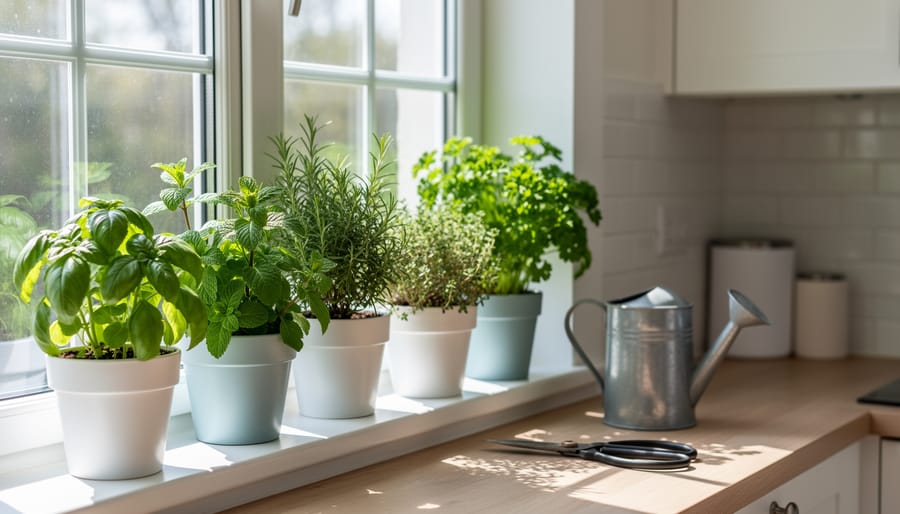
Not all herbs tolerate the limited light and dry air typical of indoor kitchens, so choosing the right varieties sets you up for success. The herbs below thrive on windowsills, forgive occasional neglect, and deliver culinary value week after week.
Basil tops the list for flavor and productivity. It grows quickly, loves warmth, and handles moderate light if you pinch back flower buds to keep it bushy. Sweet basil works for Italian dishes; Thai basil adds punch to stir-fries.
Parsley (both flat-leaf and curly) tolerates lower light better than basil and grows steadily all winter. It’s slower from seed, so buy a starter plant. Harvest outer leaves first to keep the plant producing.
Cilantro grows fast but bolts (goes to seed) in warm indoor air. Plant it every three to four weeks for a continuous supply, or grow micro herbs for quicker harvests if bolting becomes an issue. Use leaves young for the best flavor.
Chives are nearly indestructible. They handle low light, bounce back from heavy trimming, and their mild onion flavor works in dozens of dishes. Snip from the top, leaving an inch of growth.
Mint spreads aggressively, so keep it in its own pot. It tolerates shade and stays green through winter. Peppermint and spearmint are the most versatile; chocolate mint adds novelty.
Thyme and oregano are compact, woody perennials that need less water than leafy herbs. They prefer bright light but survive on less. Pinch tips regularly to prevent legginess and encourage dense, flavorful foliage.
Start with two or three of these, master their rhythms, then expand.
What You’ll Need to Get Started
You’ll need surprisingly few items to start your kitchen herb garden, and most are available at Canadian Tire, Home Depot, or local garden centers. The total startup cost can range from $20 to $100 depending on whether you choose basic or premium options.
- Containers with drainage holes, 6 to 8 inches in diameter for individual herbs or 12+ inches for multiple plants together
- Saucers or trays to catch drainage water and protect your countertops
- High-quality potting mix formulated for containers, not garden soil which compacts indoors
- Herb seeds or starter plants from nurseries like Veseys or local garden shops
- Small watering can with a narrow spout for precise watering without splashing
- Liquid fertilizer diluted to half strength, organic options work well for edibles
- Grow lights (optional but recommended for north-facing kitchens or winter months)
- Plant labels or markers if growing multiple varieties
Starter plants cost more upfront, typically $4 to $7 each, but give you harvestable herbs within weeks. Seeds run $2 to $4 per packet and take longer to mature, though you’ll get far more plants per dollar. For your first attempt, buying two or three starter plants lets you harvest quickly while you learn.
Budget-friendly swaps work perfectly well. Clean yogurt containers, cottage cheese tubs, or takeout containers make excellent planters once you punch drainage holes in the bottom with a nail or drill bit. You can often find plastic nursery pots for free at garden centers if you ask. Regular all-purpose potting soil from Canadian Tire works fine instead of specialty herb mixes, and a repurposed spray bottle handles watering in a pinch. The one area not to skimp is drainage, standing water kills herbs faster than almost anything else.
Important Considerations Before You Start
Before you start your indoor herb garden, address a few practical concerns to keep both your plants and your home safe. First, if you have pets or young children, research which herbs are safe to grow indoors. While common culinary herbs like basil and parsley are generally non-toxic, some plants can cause stomach upset or allergic reactions if nibbled. The ASPCA maintains a searchable database of toxic and non-toxic plants for pets, so double-check your choices before bringing them into your kitchen.
Proper drainage is essential for healthy herbs and a healthy home. Always choose containers with drainage holes and pair them with saucers to catch excess water. Empty these saucers within an hour of watering to prevent standing water. Take time to clean before planting to remove any dust or debris from your chosen growing area, ensuring good airflow around your containers.
Consider the weight of your setup if you’re using shelving near a window. Soil, water, and ceramic pots add up quickly, and a shelf crowded with six or eight containers can strain brackets not rated for the load. Check your shelf’s weight capacity and distribute pots evenly. Finally, ensure your kitchen has adequate ventilation, especially during northern winters when homes are sealed tight. Stagnant, humid air around plants invites fungal problems and can make your kitchen feel stuffy.
Step-by-Step: Setting Up Your Kitchen Herb Garden
Step 1: Choose Your Growing Location
Look at your kitchen windows first. South-facing windows deliver the strongest light for most of the day, ideal for basil, cilantro, and other sun-loving herbs. East or west windows work well for parsley, chives, and mint, which tolerate partial sun. North-facing windows rarely provide enough light on their own, especially during short winter days common across Canada.
If your windowsill can’t accommodate pots safely (too narrow, radiator interference, or pets jumping up), consider a small rolling cart or tiered plant stand near the window. You can incorporate herb containers into your existing kitchen shelf styling if shelves sit within two feet of a bright window.
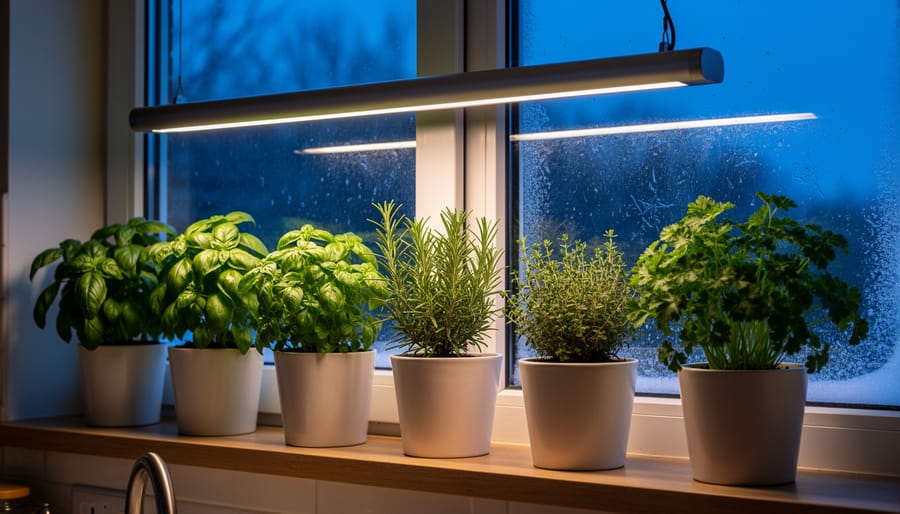
For darker kitchens or November through February when daylight drops to eight hours or less, a simple LED grow light becomes essential. Position it six to twelve inches above your herbs and run it for 12-14 hours daily. Clip-on grow lights cost $20-40 and plug into standard outlets, they’ll keep your herbs from becoming leggy and pale when natural light isn’t enough.
Step 2: Prepare Your Containers
Choose containers that are 4 to 6 inches deep for most herbs, though basil and parsley appreciate 8-inch pots if you have the space. Depth matters more than width, roots grow down before they spread out.
Drainage holes are non-negotiable. Without them, water pools at the bottom and roots rot within days. If you’ve fallen for a decorative pot without holes, use it as a cache pot: place a smaller container with drainage inside it, or drill holes yourself using a masonry bit if it’s ceramic.
Set each pot on a saucer to catch runoff and protect your countertop or windowsill. Plastic saucers work fine; cork trivets are a budget-friendly alternative.
Fill containers with quality potting mix, not garden soil, which compacts indoors and drains poorly. Look for mixes labeled for vegetables or containers. They stay fluffy, hold moisture without becoming waterlogged, and give roots room to breathe.
Repurposed yogurt containers, cottage cheese tubs, and plastic takeout containers all work beautifully once you poke drainage holes in the bottom.
Step 3: Plant Your Herbs
Now you’re ready to get your herbs in the soil. You have two options: starting from seed or using transplants from a nursery. For beginners, I recommend buying small starter plants, they give you a head start and you’ll harvest sooner, usually within a few weeks. Seeds are cheaper and offer more variety, but they take longer and need more consistent attention during germination.
If using transplants, gently remove each plant from its nursery pot and loosen the root ball with your fingers. Plant at the same depth it was growing before, firming soil around the base. For seeds, follow packet instructions, most herbs need only a quarter-inch of coverage. Press soil lightly over seeds and mist with water rather than pouring, which can displace them.
When sharing a container, space plants three to four inches apart. Basil and parsley can coexist, but keep mint isolated, it spreads aggressively and will crowd out neighbors.
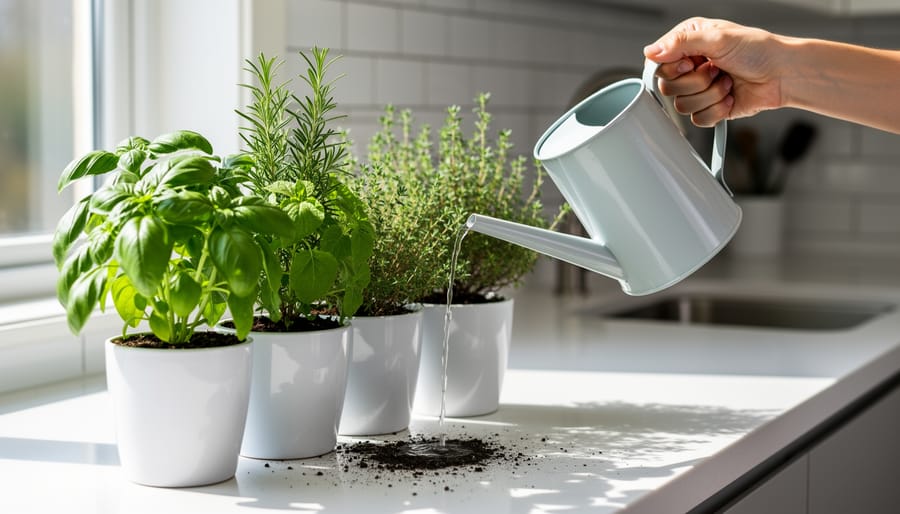
Water thoroughly after planting until moisture drains from the bottom holes, then let the soil surface dry slightly before the next watering.
Step 4: Establish a Care Routine
Once your herbs are planted, consistency matters more than perfection. Start by checking the soil every morning, stick your finger about an inch deep, and water only when it feels dry at that depth. Most kitchen herbs need watering every two to three days, but heated homes in winter can dry soil faster, sometimes requiring daily attention for smaller pots.
Rotate each container a quarter turn every few days so all sides get equal light. Plants naturally lean toward windows, and this simple habit keeps growth upright and prevents weak, one-sided stems.
Keep your kitchen between 15°C and 24°C if possible. Herbs tolerate the warmth from cooking, but avoid placing pots directly beside stoves or heating vents where temperature swings stress plants. If your home runs dry in winter, common with forced-air heating, set containers on pebble-filled trays with water below the pot base (not touching drainage holes) to add humidity without overwatering roots.
Watch for dust accumulation on leaves and wipe them gently with a damp cloth once a week. Clean leaves photosynthesize better, which means faster, healthier growth and better flavor when you harvest.
Step 5: Monitor Growth and Adjust
Watch your herbs closely in the first few weeks after planting. Healthy growth shows up as bright green leaves that stand upright, new shoots emerging from the center, and strong stems that don’t flop over. You should see visible growth within 7 to 10 days for fast growers like basil and cilantro, while woody herbs like thyme and oregano may take a bit longer to show progress.
If you notice leggy stems with long gaps between leaves, your herbs need more light. Move them closer to the window or run your grow light for an extra 2 to 4 hours daily. Yellowing leaves usually mean overwatering or poor drainage, so let the soil dry out more between waterings and check that your drainage holes are not blocked. Drooping or wilting, on the other hand, signals thirst. Give them a thorough watering and they should perk up within a few hours.
Start fertilizing about 4 weeks after planting or transplanting. Use a half-strength liquid fertilizer every 2 to 3 weeks during active growth. Indoor herbs grow more slowly than outdoor ones, so they need less food. Skip fertilizer entirely in late fall and winter if growth slows down noticeably.
Adjust your care routine based on what the plants tell you. If basil leaves are small and pale, increase light and add fertilizer. If mint is growing too vigorously and crowding the pot, trim it back or transplant to a larger container. This ongoing observation and adjustment is how you keep a thriving kitchen herb garden going year after year.
Caring for Your Kitchen Herbs Through the Seasons
Indoor herbs face different challenges as the year progresses, even though they’re sheltered from outdoor weather extremes. Understanding these seasonal shifts helps you adjust your care routine to keep plants producing through every month.
Winter: Combat Dry Air and Low Light
Your heating system is the biggest winter threat. Forced air drops humidity below what most herbs prefer, causing brown leaf tips and stunted growth. Set pots on pebble-filled trays with water (keeping pot bottoms above the waterline) to create a humid microclimate, or run a small humidifier nearby. Shorter days mean less natural light, so rotate pots more frequently and consider moving them closer to windows. Growth naturally slows in winter, that’s normal. Water less often since plants aren’t actively growing, but don’t let soil dry completely.
Spring and Summer: Manage Extra Light and Heat
Longer days bring vigorous growth. South-facing windows that were perfect in January can overheat pots by June, especially if you’re in an apartment with large windows. Watch for wilting despite moist soil, that’s heat stress, not thirst. Move herbs back from glass or add a sheer curtain during peak afternoon sun. You’ll water more frequently as plants grow faster and temperatures rise. This is prime harvesting season; regular trimming keeps plants compact and productive.
- Fertilize every two weeks during active spring and summer growth, monthly in fall and winter
- Prune aggressively in late spring to prevent legginess, cut stems back by one-third to encourage branching
- Before vacation, water thoroughly, move plants away from direct sun, and group them together to maintain humidity
- Replace woody herbs like thyme or oregano every 12-18 months when they stop producing tender new growth
Consistent observation matters more than rigid schedules. Check your herbs every few days, adjust based on what you see, and they’ll reward you with fresh flavour year-round.
How to Tell Your Herbs Are Thriving (and What to Do If They’re Not)
Healthy kitchen herbs show consistent new growth with vibrant green leaves, sturdy stems, and a strong aroma when you brush against them. Your plants are ready for their first harvest once they reach about six inches tall and have multiple sets of true leaves, typically four to six weeks after planting for fast growers like basil. Harvest in the morning after any dew has dried, snipping stems just above a leaf node to encourage branching. Regular harvesting actually keeps most herbs productive and prevents them from becoming woody or going to seed.
Watch for warning signs that something’s off. Pale or yellowing leaves usually mean insufficient light or nutrients, while brown, crispy edges indicate underwatering or low humidity. Leggy, stretched stems reaching toward the light signal your herbs need a brighter spot or supplemental grow lights. If you spot tiny insects on leaf undersides, wipe them off with a damp cloth or spray with diluted dish soap solution. White fuzzy patches mean mold, often from poor air circulation or soggy soil, improve ventilation and let the soil dry between waterings.
Why are my herbs getting tall and spindly?
Leggy growth happens when herbs stretch toward inadequate light. Move them closer to a bright window, add a grow light, or increase light exposure to 12-14 hours daily.
How often should I harvest my kitchen herbs?
Harvest every one to two weeks once plants are established, taking no more than one-third of the plant at a time. Frequent small harvests promote bushier, more productive growth.
Can I save herbs that look like they’re dying?
Yes, if the roots are still firm. Trim away dead foliage, adjust watering and light conditions, and give the plant two weeks to recover before deciding whether to replace it.
Once your herbs are thriving, try propagating favorites like basil and mint by rooting stem cuttings in water. This gives you free plants to expand your collection or share with friends. You can also layer different herbs in larger containers for visual interest, keeping tall growers like rosemary at the back and trailing varieties like thyme at the edges. A fresh herb garnish from your own kitchen garden adds both flavor and pride to every meal.
Growing fresh herbs in your kitchen is one of the simplest and most rewarding ways to bring life, flavor, and self-sufficiency into your home. You don’t need a green thumb or a sprawling garden, just a sunny windowsill, a few containers, and the willingness to start small. Even a single pot of basil or parsley can transform your cooking and save you money at the grocery store.
As you gain confidence, you’ll find it easy to expand your indoor herb garden, experimenting with new varieties and techniques. Many kitchen gardeners eventually take their skills outdoors during warmer months, creating a year-round growing rhythm that suits northern climates perfectly. Whether you’re following indoor plant trends or simply seeking fresher meals, growing herbs at home connects you to your food in a meaningful way. Start with one or two herbs this week, and watch your kitchen garden grow.
