

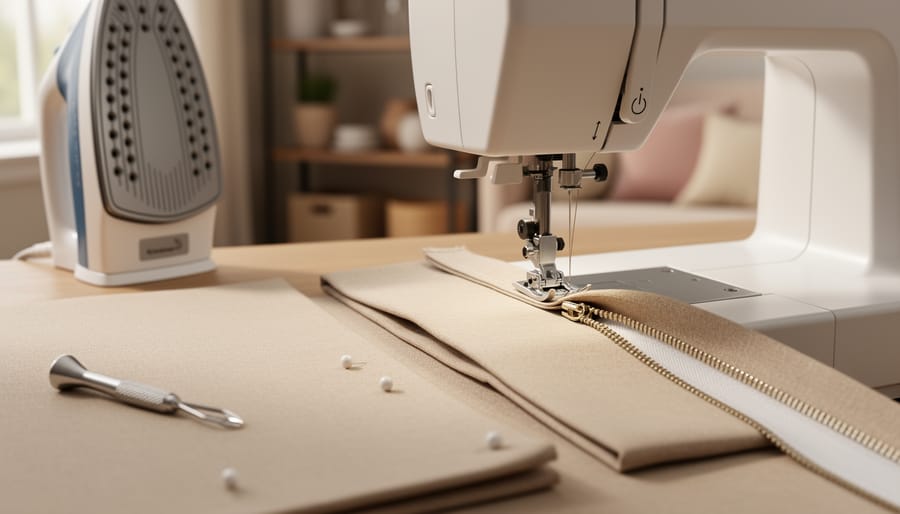
Making throw pillow covers with zippers is simpler than you think. You need two fabric rectangles, a zipper slightly shorter than one edge, and basic sewing skills. The entire process takes about 90 minutes per cover once you’ve practiced a few times, and you’ll save roughly 60-70% compared to buying pre-made zippered covers at Canadian home stores.
The zipper is what stops most sewers from attempting this project. But here’s the truth: installing a lapped zipper in a pillow cover requires only straight seams and a zipper foot attachment that comes standard with most machines. You don’t need specialized equipment or years of experience.
For northern homes, this skill pays off quickly. Swapping pillow covers seasonally means you can rotate heavier velvet or wool blends for winter coziness, then switch to breathable linen or cotton for summer without storing bulky inserts. The zipper makes removal and washing straightforward, particularly useful when wood stove ash or winter boot salt finds its way onto your furniture.
This tutorial walks you through every step, from cutting fabric to the final topstitch. You’ll learn the lapped zipper method, which hides the zipper teeth under a fabric flap for a polished look. We’ve included troubleshooting for common issues like puckered seams and misaligned zippers, plus tips for working with heavyweight fabrics that stand up to Canadian winters.
What You’ll Need: Materials and Tools
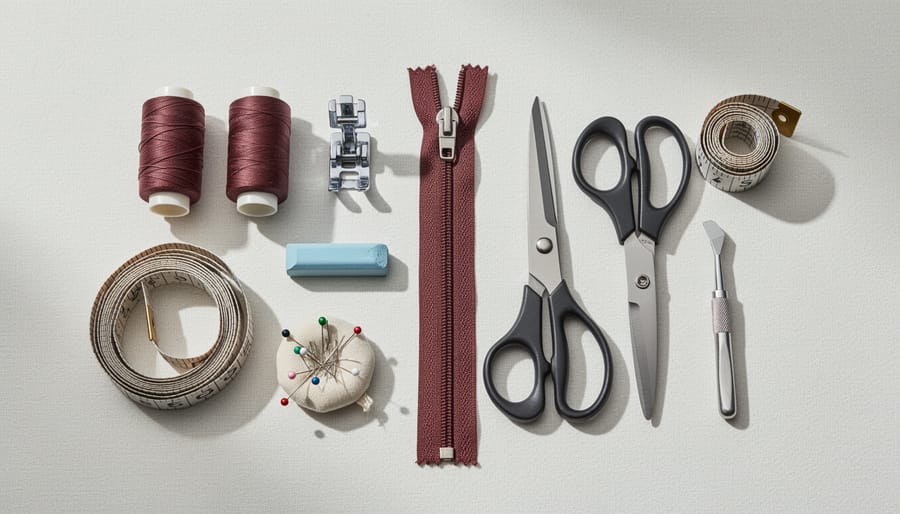
Gathering your materials before you start sewing makes the process smoother and helps you avoid midproject trips to the craft store. For a standard 18-inch throw pillow cover, you’ll need about half a yard of fabric, though buying three-quarters of a yard gives you extra room for pattern matching or mistakes. Choose medium-weight cotton, linen, canvas, or upholstery-weight fabric that can handle regular use. Quilting cottons work well for decorative pillows that won’t see heavy wear, while duck canvas and home décor fabrics stand up better on couches and chairs that get daily use.
Canadian sewers can find affordable fabric at Fabricland, Len’s Mill Store, or local fabric shops, and thrift stores often carry vintage linens and curtain panels that make excellent eco-friendly pillow covers. Look for tightly woven fabrics that won’t show stress at the seams, and consider how the material will feel against skin if you’ll lean on these pillows.
Required Materials and Tools:
- Fabric: ½ to ¾ yard for one 18-inch cover
- Zipper: 14 to 16 inches long (nylon coil zippers are easiest for beginners)
- All-purpose thread matching your fabric colour
- Sewing machine with zipper foot attachment
- Fabric scissors or rotary cutter with cutting mat and ruler
- Straight pins or fabric clips
- Iron and ironing board
- Measuring tape or ruler
- Fabric marker or tailor’s chalk
- Seam ripper (for fixing mistakes)
If you don’t have a zipper foot, a standard presser foot works but makes zipper installation trickier. Hand sewing needles can substitute for pins if you prefer basting. A rotary cutter gives straighter cuts than scissors but requires a self-healing mat and clear acrylic ruler, so fabric shears are fine for this project. Choose a zipper two to four inches shorter than your pillow width so it sits comfortably away from the corners and operates smoothly without catching fabric.
Safety and Preparation Reminders
Before you start cutting and sewing, take a few minutes to set up safely and prep your materials, it prevents accidents and ensures your finished cover fits properly after washing.
Sewing Machine and Electrical Safety
Check that your machine sits on a stable surface with good lighting and that the power cord isn’t frayed or stretched taut. If you live in an older Canadian home with two-prong outlets, avoid using adapters that bypass the ground; consider having an electrician install a grounded outlet in your sewing space. Keep your fingers well away from the needle when the machine is running, and never try to remove stuck fabric while the foot pedal is pressed. Unplug the machine before changing needles, threading, or cleaning around the bobbin area.
Sharp Tools and Heat Precautions
Store pins in a magnetic holder or pincushion rather than between your lips or loose on the table. When cutting fabric, always direct scissors away from your body and keep your free hand clear of the blade path. With your iron, use a stable heat-resistant surface and keep the cord from dangling where you might snag it, hot irons cause serious burns and can scorch fabric instantly if left facedown.
Fabric Pre-Treatment
Wash and dry your fabric using the same settings you’ll use for the finished cover, then press it smooth while slightly damp for easiest handling. This step removes sizing, relaxes the weave, and triggers any shrinkage now rather than after you’ve sewn a perfectly fitted cover. Press the zipper tape lightly if it’s wrinkled, but avoid direct heat on plastic zipper teeth.
Step-by-Step Instructions for Sewing Zippered Pillow Covers
Measuring and Cutting Your Fabric
Start by measuring your pillow insert from edge to edge. For a standard 18×18-inch insert, you’ll cut two fabric pieces that account for seam allowances and zipper installation. Add 1 inch to both the width and height for standard ½-inch seam allowances. So for an 18-inch insert, cut two pieces at 19×19 inches.
The zipper panel requires special consideration. If you’re using a centered zipper application, both back pieces should be the same size. For a lapped zipper, cut one back panel at full width and trim the overlap piece 1 inch narrower after zipper installation.
Use a rotary cutter, clear ruler, and cutting mat for the straightest edges. These tools make quick work of thick fabrics like the wool blends and flannels popular in Canadian homes during winter months. If you’re working with directional prints, think pine trees, snowflakes, or geometric patterns, lay out all pieces before cutting to ensure patterns run the same direction on front and back panels.
Square up your fabric first by pulling a thread to find the true grain, or align the selvage edge with your ruler. Even a quarter-inch deviation compounds when you’re sewing multiple seams, resulting in a twisted cover that won’t sit flat.
Installing the Zipper
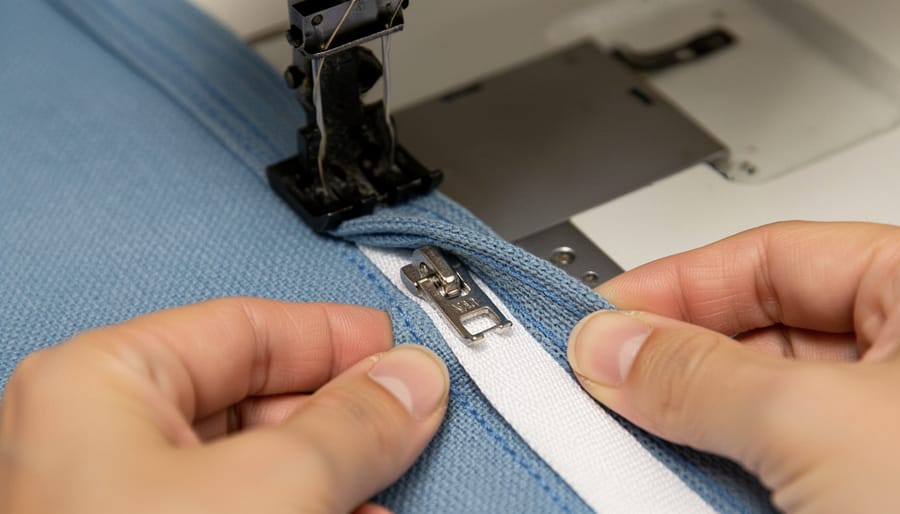
Position your two fabric pieces right sides together, aligning the edges where the zipper will go. Mark the center point of this seam with a pin or fabric marker. Most throw pillow covers work best with a zipper placed along the bottom edge, leaving about 2 inches unzippered on each side for a professional finish.
Start by basting the entire seam closed with a long stitch length (4-5mm on most machines). This temporary seam holds everything in place and marks exactly where your zipper will sit. Press this seam open flat, which creates the crisp foundation you need for a smooth zipper installation.
Now center your closed zipper face-down over the pressed-open seam allowance on the wrong side of the fabric. The zipper teeth should align directly over the basted seam line. Pin the zipper tape to the seam allowances only, not through to the right side of the fabric. Space pins perpendicular to the zipper, about an inch apart.
Switch to your zipper foot attachment, which allows the needle to stitch close to the zipper teeth without hitting them. Working from the right side of the fabric, topstitch around the entire zipper in a rectangle: start at one bottom corner, stitch across the end, up the long side about 3/8 inch from the seam line, across the opposite end, and down the remaining long side.
When you approach the zipper pull while stitching, stop with the needle down, lift the presser foot, carefully slide the pull past your needle, lower the foot, and continue. This prevents awkward bunching.
Finally, use a seam ripper to carefully remove the basting stitches, revealing your functional zipper. Open and close it several times to ensure it glides smoothly. If the fabric catches, your topstitching may be too close to the teeth, next time, position it slightly farther out.
Assembling the Cover
With the zipper installed and opened halfway, you’re ready to complete the cover. Pin the three remaining sides together with right sides facing, matching corners precisely. Use a standard 1/2-inch seam allowance for durability.
Start stitching from one side of the zipper opening, backstitching three to four stitches at the beginning to lock the thread. Sew down the first side, pivot at the corner with your needle down, then continue along the bottom edge. Pivot again at the second corner and sew up the final side, finishing with another backstitch at the opposite zipper edge. These reinforced endpoints prevent unraveling at the zipper seam junction, the most stressed part of the cover.
Trim corners diagonally about 1/8 inch from the stitching line, being careful not to cut through your seam. This simple step eliminates bulk and creates sharper corners when turned right-side out. For thick fabrics like canvas or upholstery weight cotton (common for durable northern climate use), also trim the seam allowances to 1/4 inch along all three sides to reduce bulk.
Check your stitching for any skipped spots or weak sections. If you find gaps, restitch that area with overlapping backstitches at each end. The cover experiences significant stress during regular use, especially when inserting and removing pillow forms, so solid seams throughout make the difference between a cover that lasts years versus one that splits after a few washes.
Finishing Touches
Once you’ve stitched all four sides, reach through the partially-open zipper and gently pull the cover right-side out. Work the corners out fully using a blunt tool like a chopstick or closed scissors, never use anything sharp that could poke through the fabric. This step takes patience, especially with thick upholstery fabrics common in durable northern home décor.
Press all seams flat with an iron set to your fabric’s recommended temperature. Pay special attention to the zipper area, pressing from the wrong side first to avoid imprinting the zipper teeth onto the fabric face. A quick press from the right side gives everything a crisp, store-bought appearance.
For a polished finish, consider topstitching along the zipper seam, about 3mm from the edge. This secures the fabric neatly and prevents it from catching in the zipper. Use matching thread and a slightly longer stitch length for a professional look.
Before calling it done, open and close the zipper several times to confirm it glides smoothly. Check that all corners are fully turned and symmetrical. Run your hand along each seam, feeling for any gaps or puckers. Insert your pillow form through the zipper opening, ensuring it fills the cover evenly without straining the seams or creating lumps at the corners.
Testing Your Finished Cover and What Comes Next
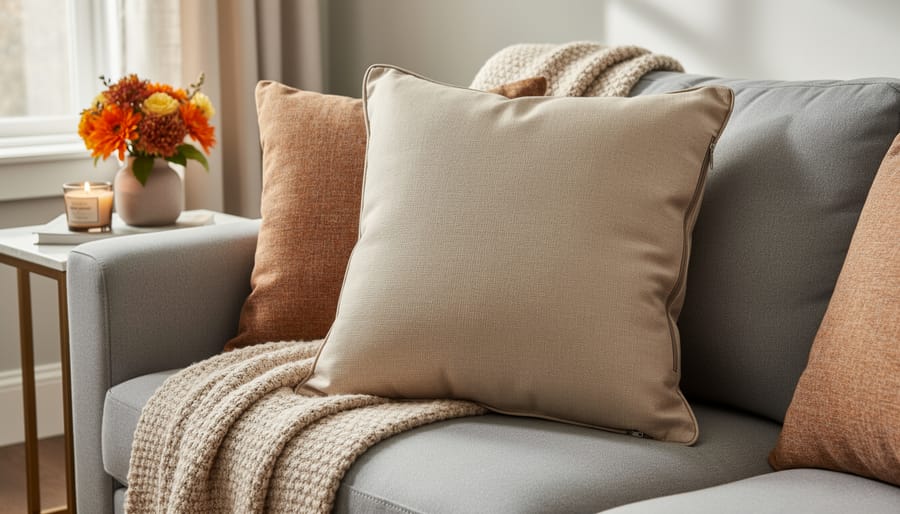
Before you celebrate, test your new pillow cover thoroughly to catch any issues while they’re easy to fix. Start by working the zipper through several open-close cycles without the insert inside. It should glide smoothly without catching on fabric or threads. If it sticks, check for fabric caught in the teeth or thread ends near the zipper tape.
Next, turn the cover right-side out and examine the construction carefully:
- Zipper opens and closes smoothly without snagging
- All seams are secure with no loose stitching or gaps
- Corners are crisp and fully turned out
- Cover fits the pillow insert snugly without excess fabric
- Fabric pattern is aligned properly on all visible sides
Insert your pillow form with the zipper fully open. The cover should slide on without forcing, but shouldn’t be loose and wrinkled either. A properly fitted cover looks plump and smooth once zipped. If it’s too tight, you may need to let out seams by a quarter-inch. Too loose means your measurements were off, but you can often compensate by using a slightly larger insert.
Once you’ve mastered this technique, you’ll find dozens of ways to use it. Make coordinating covers for every room, or create sets that rotate with the seasons. Northern homeowners especially benefit from fabric swaps: heavyweight wool or velvet for winter coziness, then lighter linens for summer. This same zipper method works beautifully for outdoor cushions on covered porches, seasonal throw pillows for a seasonal home refresh or even festive kitchen decor with bench cushion covers. Now that you know the basics, experiment with different fabrics, sizes, and styles to build your sewing confidence.
Troubleshooting Common Problems
Even with careful work, you’ll likely hit a snag or two on your first few covers. Most problems have quick fixes that don’t mean unpicking everything.
Puckered zipper seams happen when fabric gets stretched while sewing. If it’s minor, press firmly with steam and the puckers often relax. For stubborn cases, remove just the topstitching (not the zipper itself), re-pin without stretching, and sew again with a walking foot if you have one. Reduce presser foot pressure slightly, your machine might have a dial for this.
Misaligned fabric panels usually show up at corners. If the misalignment is less than half a centimetre, you can disguise it by trimming both layers evenly and binding the edge with bias tape, or adding decorative piping. For larger gaps, you’ll need to unpick one side seam, realign, and re-sew with a consistent seam allowance.
Too-tight covers make zipper installation stressful and corners bunch. Add a fabric gusset strip along one or two sides, just unpick those seams, insert a 2-3 cm strip, and resew. For slightly loose covers, topstitch a decorative fold on the inside of each side to take up slack, or simply accept it; a bit of room actually makes changing covers easier.
Broken needles signal you’re using the wrong size (try 90/14 for medium-weight cotton) or sewing over thick seams too fast. Slow down at zipper crossings and turn the handwheel manually through bulk.
Thread bunching underneath means your top tension is too loose or you didn’t thread correctly, rethread completely, checking the tension discs.
Frequently Asked Questions
What’s the best fabric for pillow covers?
Cotton and linen are excellent choices because they’re durable, washable, and easy for beginners to handle. For Canadian winters, consider heavier cotton duck or canvas that won’t pill as quickly with frequent use.
How do I choose the right zipper length?
Your zipper should be at least 3 inches shorter than your pillow width to allow for seam allowances on each end. For an 18-inch pillow, a 14-inch zipper works perfectly.
Can I wash zippered pillow covers in the machine?
Yes, most cotton and linen covers can go in the washer on a gentle cycle with cold water. Close the zipper before washing to prevent snagging, and air-dry or use low heat to avoid shrinkage.
Is making my own covers actually cheaper than buying them?
You’ll save 50-70% compared to retail prices. A yard of quality fabric costs $15-25 at Canadian craft stores, enough for two standard covers, while store-bought zippered covers run $30-50 each.
Beyond these basics, you can adapt the same technique for any pillow size by adjusting your fabric cuts. Add 1 inch to both length and width of your pillow insert measurement to account for seam allowances. Many sewers in northern climates make multiple covers in different fabrics so they can swap them seasonally, flannel or velvet for cozy winter months, lighter cotton for summer. This approach pairs well with winter styling ideas when you want to refresh your space without buying all new décor. For affordable fabric sourcing in Canada, check Fabricland, Len’s Mill Store, or local fabric shops that often run seasonal sales. Online options like ship to Canada, though watch for duties on larger orders.
Sewing your own zippered pillow covers gives you control over your home’s look while building valuable skills you’ll use on countless future projects. You’ve mastered zipper installation, the technique many sewers find most intimidating, which opens doors to everything from cushions to garment-making.
Consider making multiple covers in different fabrics suited to northern seasons. Cozy flannels and velvets for winter, breathable linens for summer. Swapping covers takes minutes and transforms a room’s feel without the expense of new pillows. Many Canadian sewers keep a rotation of covers and change them with the seasons, the same way you might switch out throw blankets.
Start a fabric collection when you find sales at local shops or online Canadian retailers. A yard or two of several coordinating prints lets you create mix-and-match sets over time. The more covers you make, the faster and more confident you’ll become. Soon you’ll be improvising your own design variations and helping friends tackle their first zippered projects.
